Add a new merch item is just like adding a new show — first you the item in WordPress, then set up pricing in Tessera.
Go to Merch in WordPress and click on Add Merch. You’ll be taken to this screen.
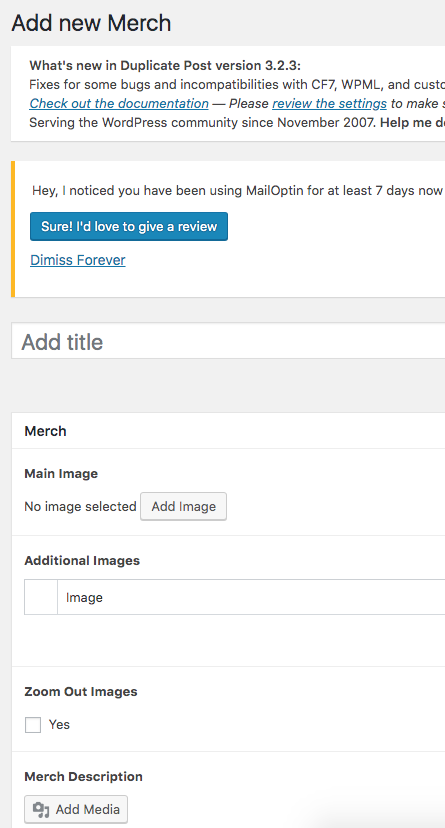
- Fill out the title and description.
- Upload an image.
- Click Yes box if you want to feature the merch.
- Click on the appropriate Category.
Click Save and make a note of the post number.
Import a show from WordPress into the ticketing system
Now go to Merch in Tessera and click on Add Merch.
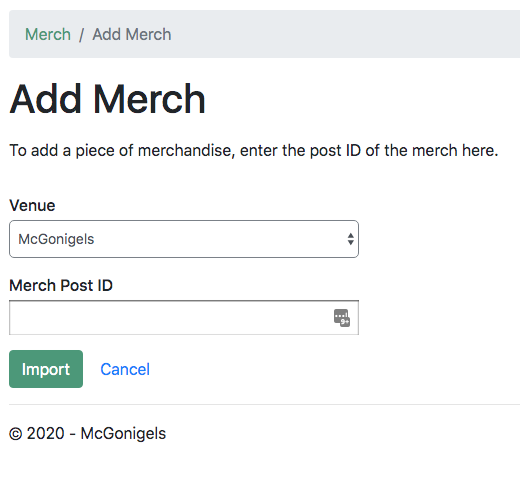
Fill in the Post ID number and click Import.
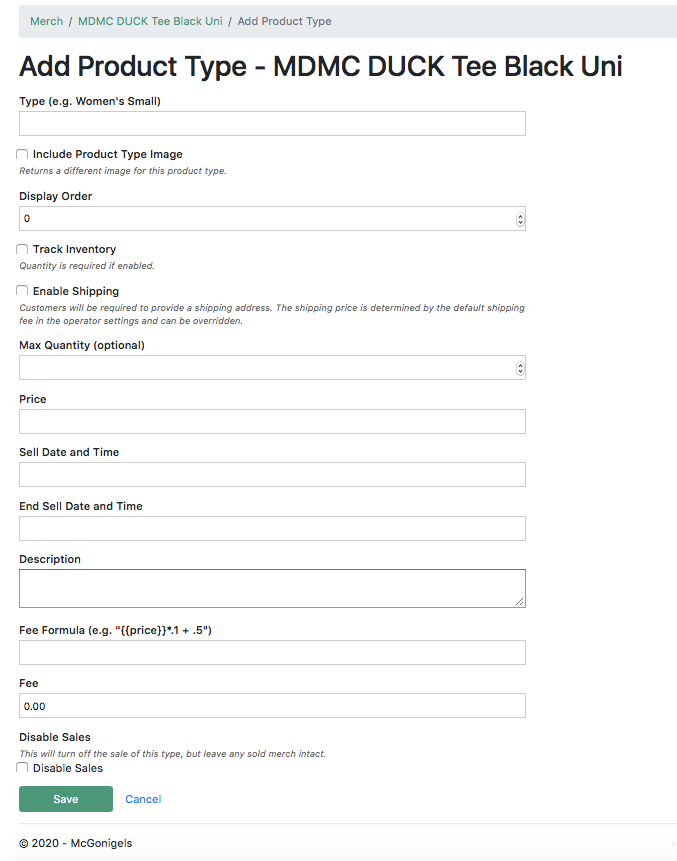
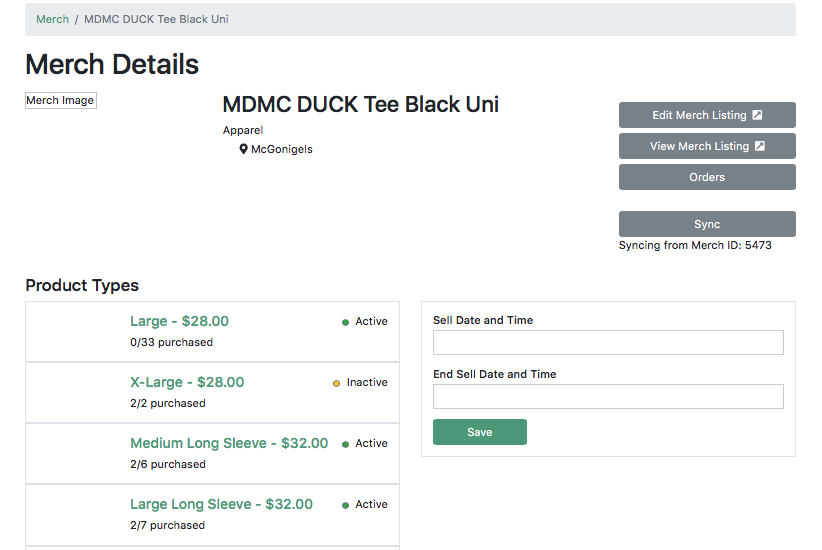
- Type is the specific product item. For a t-shirt, for instance, it might be women’s small.
- Image is optional. You can upload a different product image here.
- Display order is the relative order this item will be displayed in the list of products.
- Track inventory. If you choose to track inventory, you must enter a quantity of stock.
- Max Quantity is the maximum number of items a customer can buy. This is optional.
- Price is simply the price.
- Sell Date and Time – you can select a time when this product goes on sale.
- End Sell Date and Time – you can select a time when this product is no longer on sale.
- Description is a description of the product.
- Fee formula is the for calculating any additional fee.
- Fee is any additional fee added to the price.
- Disable Sales – turns off sales without deleting the item.
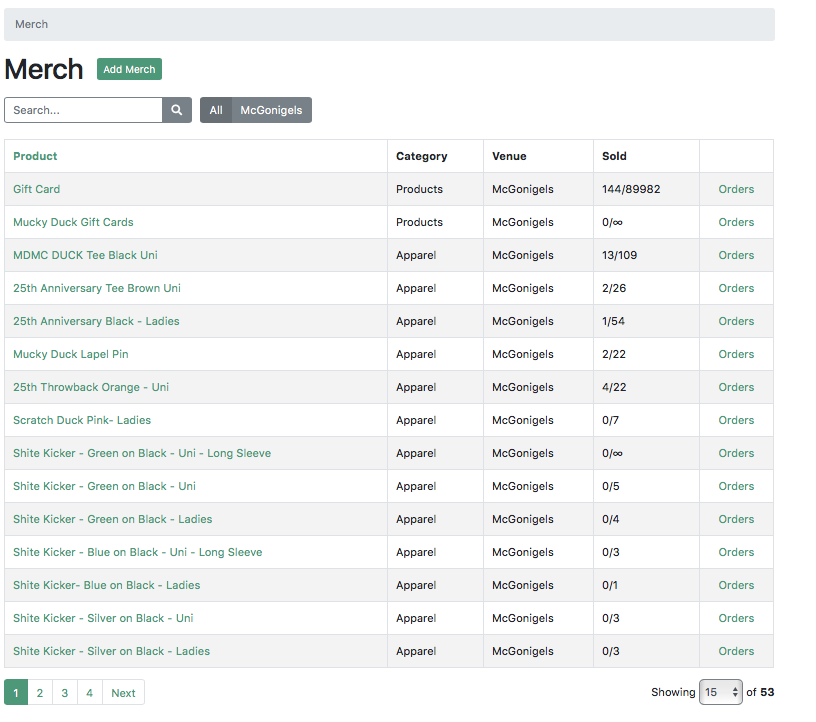
Once completed, your merch item will show the different products.